Painting your nails for the first time can be a little daunting.
I remember when I painted my nails for the first time (only 2 years ago) I was worried I was doing it wrong. Spoiler, I sort of was...?
Fear not! I've enlisted the help of friends so both you and I can learn together!
Step 1: Get everything you need
To paint your nails you will need the following:
- Nail Polish of your choice (obviously)
- Base/Top Coat
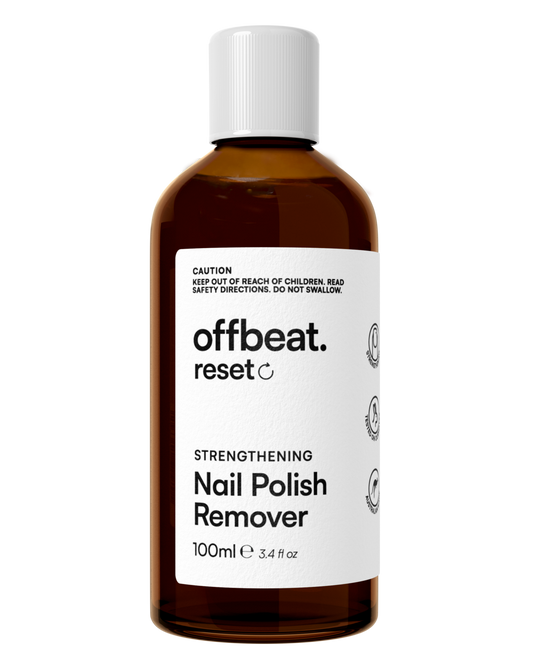
- Nail Polish Remover (we like water-based)
- Reusable make up pad or cotton balls
- A few Q-Tips (for clean up work)
Step 2: Start with clean, gunk free nails.
Turns out painting your nails isn't too different from painting anything else. One of the secrets to long lasting nails is prep work. Start with cleaning your nails with nail polish remover. Use a make up pad or a cotton ball to remove all dirt, dust and anything else that might get in the way of the polish drying evenly.
Step 3: Apply a Base Coat
While a base coat might seem like an extra step, it plays a vital role in the health and appearance of your nails. Here's how:
Protects Your Nails: Nail polish, especially dark colors, can stain your natural nails. A base coat acts as a barrier, preventing discoloration and keeping your nails healthy.
Promotes Adhesion: Base coat creates a smooth, even surface for your polish to adhere to. This translates to a flawless application and prevents chipping and peeling.
Apply in thin, even strokes. Don't worry if your miss your nail, we'll clean it all up at the end. One thin, even coat is enough for each nail.
Step 4: Apply your chosen Nail Polish
Sometimes if the polish has been sitting a while the colours may seperate slightly, so gently roll the polish in your hand to mix it back together. Don't shake your polish, as this can introduce air bubbles. Take the brush out and softly scrape excess polish on the rim. Don't be afraid to paint off the nail. Again, this will be cleaned up later on.
Apply the polish in long strokes from the bed of the nail to the tip. Don't be worried if you are unable to apply to an entire nail at once. It's better to apply multiple thinner coats than less, thicker coats.
When you have painted all your nails place the brush back in the bottle and let your nails dry. Depending on how thick polish has been applied, your time may vary.
When ready, repeat the process to fill in any spots the first pass didn't cover. Allow your nails to dry again.
Step 5: Apply Top Coat
Important: Ensure nails are dry before doing this.
Grab your top/base coat. Apply a thin top coat to seal in your brand new colour.
Step 6: Clean Up
Dip your Q-Tips into your nail polish remover. Take your time to clean up any polish on your skin and finish up.
Congrats, I bet they look great!
(don't forget, even if they look messy, it's 100% a vibe)